For #FinishingFriday, I bring you the first piece that I’m reasonably happy with from this year’s classes. Mind you: I already know exactly what I need to do differently next time:
- choose different paper with a bit more tooth/bite
- track more clearly what pencils I use for which shades
- stick to the same direction throughout for the tiny dark lines (they’re little stripes, not just a line)
- put up a note at the very start “Do not move towel and lighting!” The lights were shifted a bit between second and third session.
I guess I’ll just call it an extensive study before executing the master piece, someday. At least I feel a lot more confident in knowing my way again around a set of pencils (9B-H) and a series of erasers (I used 3 different types). Put the brightness of your screen up to see these pics properly, because the lighting in the studio is anything but conducive to iPhone photography.


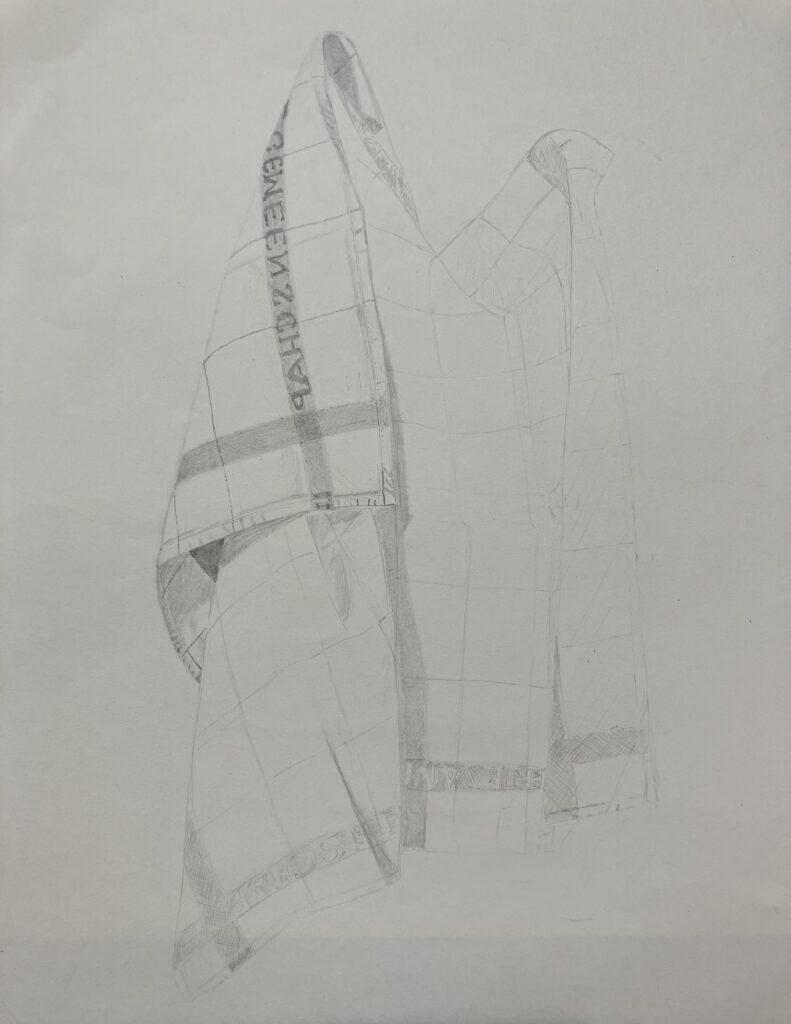
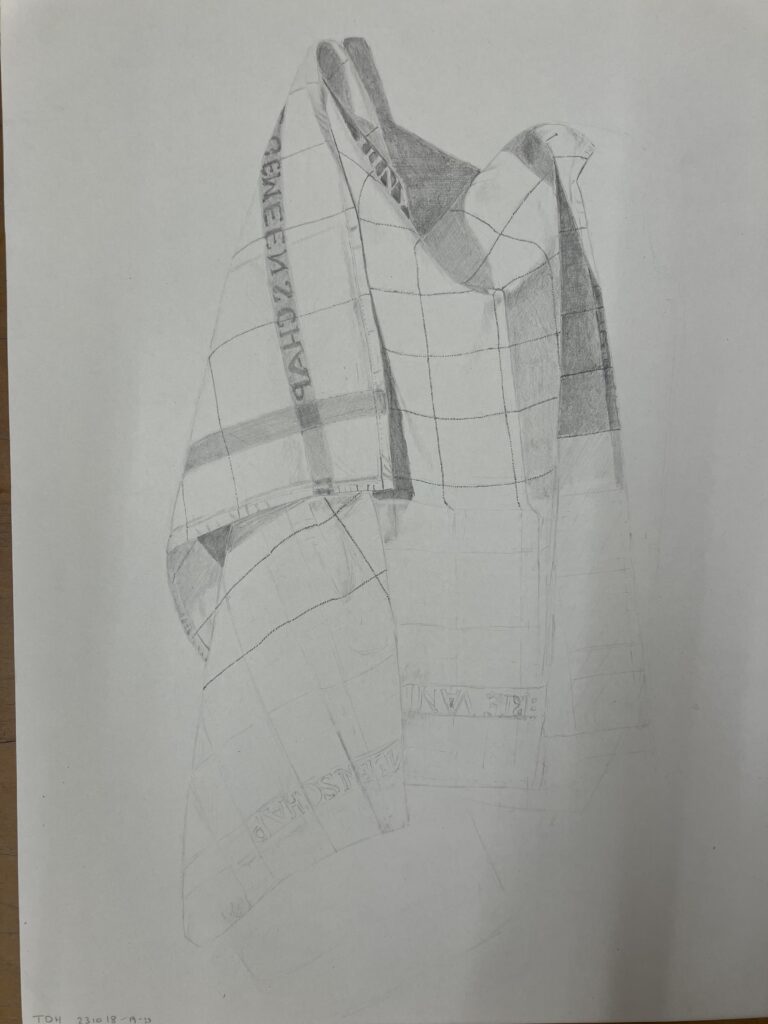
Yes, I ended up erasing the bottom part and adjusting the length of the towel: as I got into the details, I realised the proportions were off, and the little squares were not lining up properly. My classmates assured me I didn’t need to do them, but I wanted them for the drawing I saw me complete. That’s where I messed up the paper and could have done with better quality. I didn’t know at the start I’d be going for this kind of work or I’d have chosen (and my teacher would have given me) a better quality paper. Tbh, it still wasn’t perfect when I was done but it was convincing enough that that towel is real and very crisp. Check it out! Click on the image to go to Flickr and zoom in there. I’m still figuring out what the best way is to give you high quality images without crashing my allowance here. Tips welcome!

Stunning!
Thanks! It feels good to be more in control of the pencils again 💪🏻
knap werk. bravo xxx van mama
Hehe – dank u!